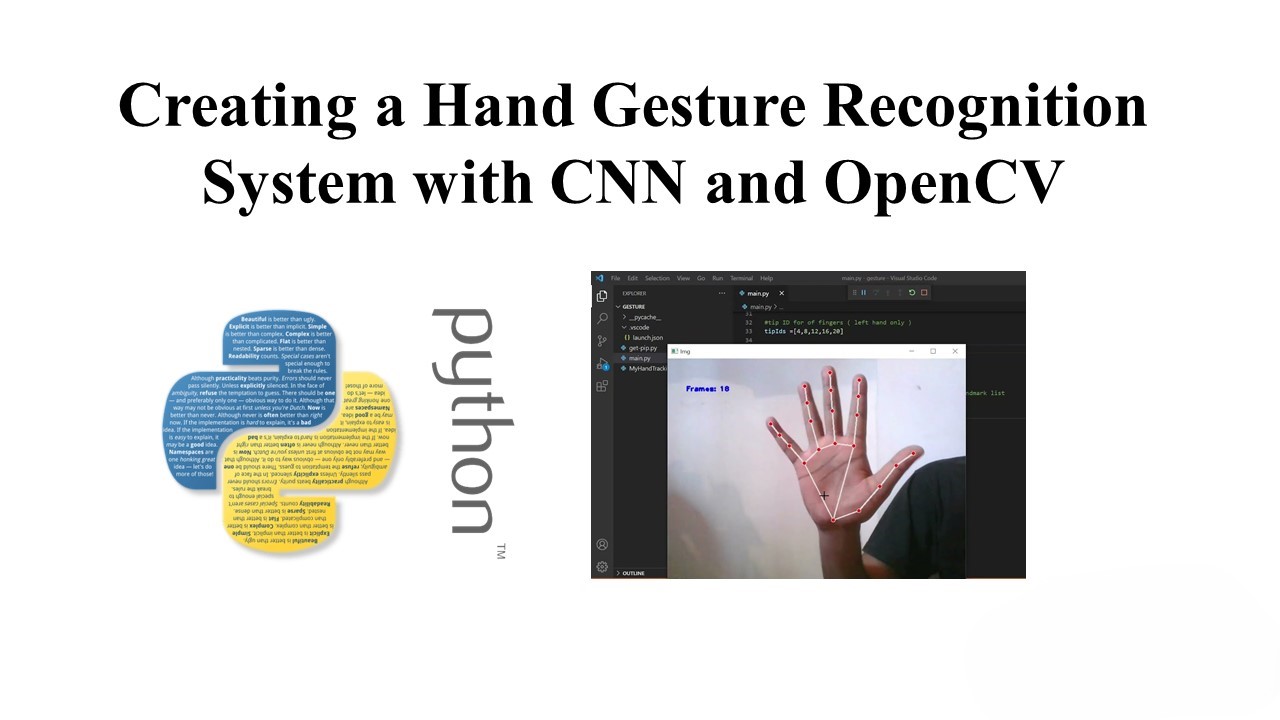
Creating a Hand Gesture Recognition System with Convolutional Neural Networks (CNN) and OpenCV
Hand gesture recognition is a fascinating application that involves the intersection of computer vision and machine learning. In this blog post, we’ll explore how to build a hand gesture recognition system using a Convolutional Neural Network (CNN) and OpenCV for real-time video processing.
Building the Neural Network
Let’s start by assembling the neural network using the Keras library and compiling it for training. The neural network is a simple CNN with three convolutional and max-pooling layers, followed by dense layers. The model is then compiled with categorical crossentropy loss and the Adam optimizer.
# Import necessary libraries
from tensorflow.keras.models import Sequential
from tensorflow.keras.layers import Conv2D, MaxPooling2D, Activation, Flatten, Dense, Dropout
from tensorflow.keras.preprocessing.image import ImageDataGenerator, img_to_array, load_img

# Define the model
model = Sequential()
# Add convolutional layers
model.add(Conv2D(32, (3, 3), input_shape=(54, 54, 1)))
model.add(Activation('relu'))
model.add(MaxPooling2D(pool_size=(2, 2)))
# Add more convolutional layers
model.add(Conv2D(32, (3, 3)))
model.add(Activation('relu'))
model.add(MaxPooling2D(pool_size=(2, 2)))
# Add additional convolutional layers
model.add(Conv2D(64, (3, 3)))
model.add(Activation('relu'))
model.add(MaxPooling2D(pool_size=(2, 2)))
# Flatten the tensor and add dense layers
model.add(Flatten())
model.add(Dense(64))
model.add(Activation('relu'))
model.add(Dropout(0.5))
model.add(Dense(4))
model.add(Activation('softmax'))

# Compile the model
model.compile(loss='categorical_crossentropy', optimizer='adam', metrics=['accuracy'])
Preparing Data for Training
To train the model, we need to prepare our data. We use an ImageDataGenerator for data augmentation and flow the data from directories.
# Set batch size
batch_size = 16

# Create data generators
training_datagen = ImageDataGenerator(
    rotation_range=50,
    width_shift_range=0.1,
    height_shift_range=0.1,
    shear_range=0.2,
    zoom_range=0.2,
    horizontal_flip=True,
    fill_mode='nearest'
)

validation_datagen = ImageDataGenerator(zoom_range=0.2, rotation_range=10)

# Flow data from directories
training_generator = training_datagen.flow_from_directory(
    'training_data',
    target_size=(54, 54),
    batch_size=batch_size,
    color_mode='grayscale'
)

validation_generator = validation_datagen.flow_from_directory(
    'validation_data',
    target_size=(54, 54),
    batch_size=batch_size,
    color_mode='grayscale'
)
Training the Network
Now, we can train the model on the augmented data.
# Train the model
model.fit_generator(
    generator=training_generator,
    steps_per_epoch=2000 // batch_size,
    epochs=50,
    verbose=1,
    validation_data=validation_generator,
    validation_steps=200 // batch_size,
    workers=8,
)
Plotting Model History
We can visualize the training and validation performance using the model’s history.
# Plot the training history
import re
import matplotlib.pyplot as plt

# Read the model fitting output
with open(MODEL_HISTORY) as history_file:
    history = history_file.read()

# Extract relevant data
data = {}
data['acc'] = re.findall(' acc: ([0-9]+\.[0-9]+)', history)
# Extract other metrics like loss, val_acc, val_loss

# Plot the data
plt.figure()
plt.title("Training Loss")
plt.xlabel("Epoch #")
plt.ylabel("Loss")
plt.plot(data['loss'])

# Repeat for other metrics (accuracy, validation loss, validation accuracy)


plt.show()
This concludes the training phase of our hand gesture recognition model. In the next section, we’ll integrate this model with OpenCV for real-time video processing and hand tracking.
